Overview of Stable Diffusion: High-quality and open-source image synthesis from text
First impressions and quick run-book of the high-quality and free alternative to Dall e
Table of Contents
Intro
Stable diffusion recap
Running stable diffusion
Broad implications
Conclusion
Intro
Language technology enables many exciting applications. So far in the language tech newsletter, we have been primarily covering text-only applications. In text-only applications, we either try to classify the text into the right category (for example predict the sentiment of a movie review) or generate the new text given the text input to the model (for example translating text from French to English)
Deep learning which is behind the latest language technology is quite extensible and allows us to mix in the other modalities such as images, speech, etc. together with the language. Dall e has recently shown quite exciting breakthrough results at the intersection of text + images, by starting a whole craze of high resolution image synthesis from text. Unfortunately, the Dall e technology is closed-source and is only accessible through OpenAI API. But luckily, the large popularity of Dall e did not stop others from trying to replicate and improve it. Now comes the stable diffusion from stability ai.
Stable diffusion recap
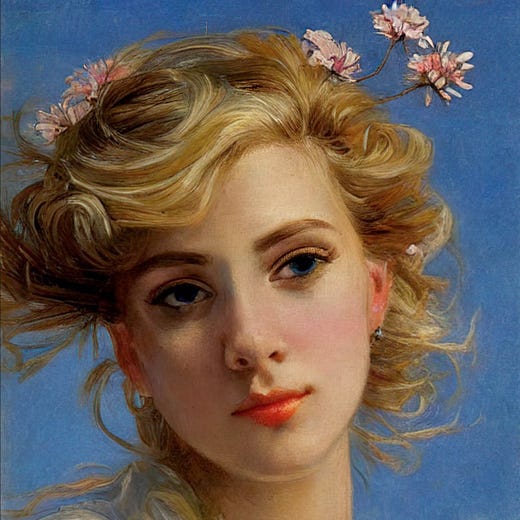
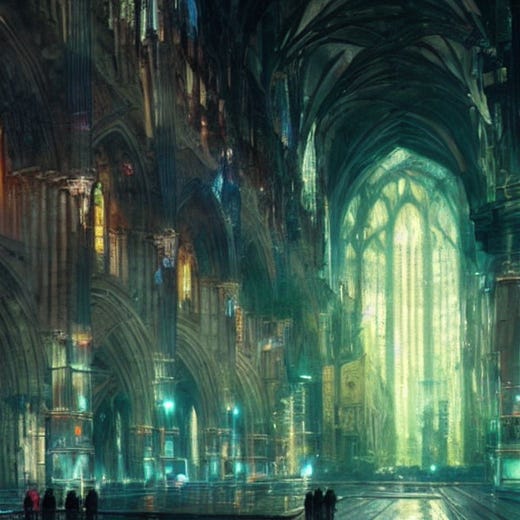
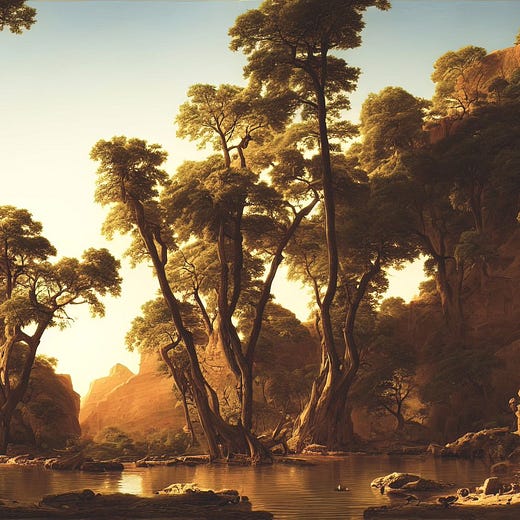
Stable diffusion is a high-quality open-source implementation of the text-to-image generation models. Based on the first impressions, it works as well as the closed-source and commercial Dall e model. It is quite easy to run as well.
While it is hard to describe the entire model in one sentence, in short, stable diffusion belong to the family of "diffusion models" that iteratively generate images over multiple timesteps from the text prompts. The drawback of diffusion models is that it is painstakingly slow to run. With standard diffusion model we need to re-generate the entire 512x512 image over 50 or so steps.
Stable diffusion avoids this limitation by utilizing so-called latent diffusion modeling technique. Instead of generating the entire image at each timestep, the stable diffusion iteratively re-generates the latent representation of the image that gets mapped to the final image in the pixel space at the very end. Latent representation is a low-dimensional vector representation of the image (64 x 64 original size of latent space in stable diffusion). Intuitively, latent space represents the summary of the key features of the image in the vector space. AI model uses these latent features to generate the entire image.
I suggest reading this thread if you are curious about more details behind how stable diffusion functions
Thanks to the funding and great work from Stability AI and HuggingFace researchers, the technology and code to generate images got released to the public. Let's quickly go over the notebook by Omar Sanseviero to generate images with stable diffusion.
Colab Notebook LINK
Running stable diffusion
Pre-requisites: Installing libraries
The first part of the notebook is a bunch of pre-requisite libraries that you need to install to run stable diffusion. You can quickly run a bunch of cells and skip the text up until the `Stable diffusion pipeline` section.
Important: There is a single line of code missing that installs the `huggingface_hub` library. This library hosts the stable diffusion, and we need to acknowledge the model card before downloading the model. Add the below line somewhere at the top of the notebook
pip install huggingface_hubAnother important note: After installing the library, you need to get the token in order to run the stable diffusion model.
Navigate to the Huggingface website to sign up (or login) if you already have the account. After creating the account go to the Huggingface tokens page to generate a token that you would use in the notebook. The step to generate a token should look like this:
Copy-paste the token in the notebook when running the cell and you are good to run.
from huggingface_hub import notebook_login

notebook_login()
Alternatively, if you are turbo and good with command line interfaces (cli) just run the huggingface cli login to generate a token.
Running the model
It takes only 8 lines of code (not counting the comments) to run the model. It is that easy!
# import relevant libraries
import torch
from diffusers import StableDiffusionPipeline
from torch import autocast

# download weights
# make sure you're logged in with `huggingface-cli login`
pipe = StableDiffusionPipeline.from_pretrained("CompVis/stable-diffusion-v1-4", revision="fp16", torch_dtype=torch.float16, use_auth_token=True)

# specify prompt
prompt = "a photograph of an astronaut riding a horse"
with autocast("cuda"):
  image = pipe(prompt)["sample"][0]  # image here is in [PIL format](https://pillow.readthedocs.io/en/stable/)

# or if you're in a google colab you can directly display it with
image
You get something like this for a photograph of an astronaut riding a horse text conditioning
pipe which is a variable of the StableDiffusionPipeline class is the key object which we use to do image generation. By default, we run the latent diffusion model for 50 steps which takes about 12 seconds on Google Colab as recommended by HuggingFace developers.
You can see the evolution of the generated image as the stable diffusion updates the latent representations of the image. Run the below code to see the output of latent diffusion models roughly after every 12 steps.
generator = torch.Generator("cuda").manual_seed(510)
prompt = "a photograph of an astronaut riding a horse"

steps_to_save = [12, 24, 38, 50]
all_images = []
for step_i in steps_to_save:
  generator = torch.Generator("cuda").manual_seed(510)
  with autocast("cuda"):
    image = pipe(prompt, num_inference_steps=step_i, generator=generator)["sample"][0]
  all_images.append(image)

grid = image_grid(all_images, rows=1, cols=4)
grid
A big difference in image quality from step 12 to step 50 of generation. The generation stabilizes towards step ~40 and simply changes the texture and color of the astronaut's costumer between steps ~40 and 50.
There are a few more other knobs you can tune in the model. `guidance_scale` lets you improve the quality of the image at the cost of diversity. You can also tune the scheduling algorithm that controls the type of noise added to the model. There are three different noise scheduling algorithms suggested by the authors of the notebook, but I suggest keeping things as simple as sticking to the base parameters. I will likely be doing a deep dive on some of those in the follow-up posts.
You can look and read more about other parameters of stable diffusion here link
Comparing the model's outputs to Dall e
Decided to quickly find some text prompts on Twitter of Dall e that caught my eye and compared them to the stable diffusion
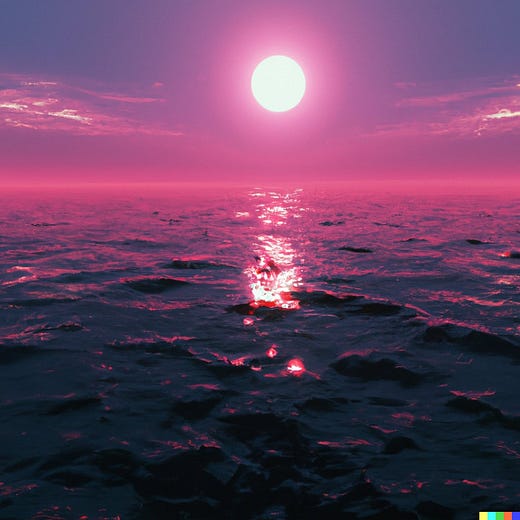
A synthwave style sunset above the reflecting water of the sea, digital art

Border collie as a world war 2 pilot in WWII propaganda art style
Film still of elderly black man playing chess, medium shot, mid shot from Dall e 2 prompt book
I am impressed by how well the stable diffusion capture the synthwave style sunset as digital art. The propaganda-style poster and the film still are very realistic. Faces have a proper shape with quite a bit of detail. There is no chewing face effect that is quite noticeable when you use Dall e 2 images.
Stretching the limits of model
I tried to see whether the model can count the objects properly and whether the model has the proper spacial awareness of the scene. This is something Dall e and other generative models struggle with, so I was curious to see if there is something different in the stable diffusion.
Four red squares on the left of the table together with three blue cubes on the bottom right of the table

Not surprisingly, these limitations of inaccurate counting and incorrect spatial awareness are still present in the model. There are high level similarities between how dalle, midjourney, and stable diffusion functions. But I am very optimistic that very shortly we would be able address these challenges.
Uses of technology beyond classical text to image
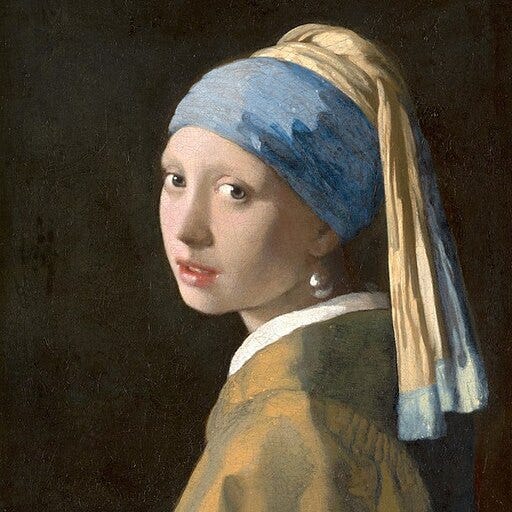
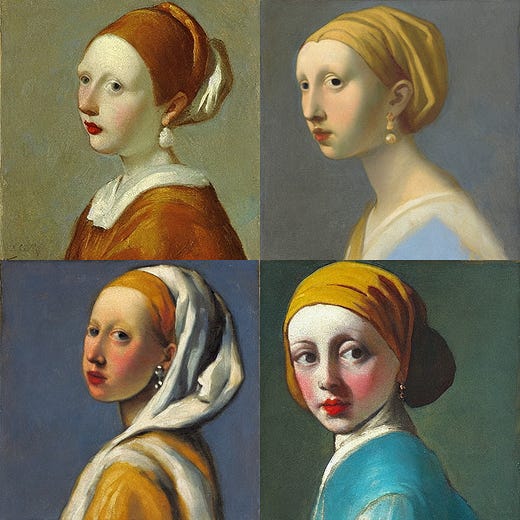
Thanks to the open access the technology people already started extending stable diffusion functions in unpredictable ways. I want to highlight the work done by Justin Pinkney who has extended the stable diffusion model card in a creative way. Instead of text conditioning, Justin Pinkney extended the model to generate image variations from image embeddings.
Looking forward on how he and others take stable diffusion further! I will be experimenting with technology myself.
Broad implications
Last but not least it is fun to speculate on the implications of the open access text to image technology.
While I don't share the views of Joscha Bach that opening text to image models implies the death of the stock photo industry, there is something to the technology.
I share Balaji's opinion that people would start relying less on Google Search and more on generative models to create images. This could be important for entertainment, education, and many practical use-cases. Imagine a director quickly creating several story-board images by typing in prompts into the stability ai diffusion model, and quickly editing those images on the photoshop for the final look. Exciting times!
I am very excited to see the generated art presented in the largest galleries in the world. And human prompt designers being the new generation of artists that get all the credits for the breathtaking art. I know it is just the matter of time.
Last but not least use AI responsibly! No need to generate an inappropriate and harmful content with them. Let's put AI to the good use, it is the collective responsibility of the humanity.
Conclusion
Exciting times we live through. It is important to remember that Dall e 2 only came out in April 2022, and in the matter of 4-5 months we already have multiple competitors that offer the similar quality of service. And now thanks to Stability ai, Hugging Face, and Google Colab we get to run the same technology in our browsers for free.


